Tuesday, October 15, 2013

Creations for Charity Update

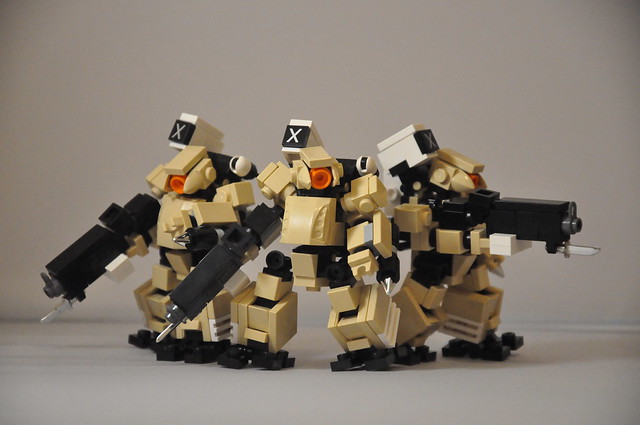
Creations for Charity has opened up their Bricklink store and has begun selling their donated creations today! Even if you're not into MFZ, there are some really awesome models for sale from some very talented builders.

My Pit Vipers, Shorties, and Freedom's Breath companies are still available and are going for $200, $75, and $75 respectively. The Tin Men have already sold, so I wouldn't expect the others to last very long. Get on over there and get yourself some sweet Lego while giving underprivileged kids the same joy you get from this wonderful hobby.

Update: the Pit Vipers have sold! The other two remaining are the more affordable options and are still available.

Sunday, October 13, 2013

Feast of Blades Day 2

They got me a fancy badge and everything.
Now that I'm able to actually sit down with my computer and a solid internet connection, I can finally upload some shots from my actual camera (instead of my crappy phone cam) and go into a little more detail of the happenings of the con.

I must say, the second day was much more eventful than the first. Even with people tied down to tournament matches, a ton of people made time to swing by the demo and at least pick my brain for a bit if not run through a small skirmish. Everyone who played came away from the game loving it and I can't even count how many times I heard someone say "I can't wait to go home and dig out my Lego to build this stuff!" 

A member of the press group filming rounds of the Hordes/Warmachine tournament came by and completely geeked out. He immediately went and got a camera and filmed while I explained the game to him. Later on, I set up a game on his tournament table with three cameras and lighting all set up and we played an entire game on film! He's going to have to do some editing, but with the multiple camera angles and such it is going to be sweet! I'll make sure to let you all know when that stuff becomes available!


Friday, October 11, 2013

Feast of Blades Day 1

As it turns out, there is no WiFi and absolutely to signal in the main room for feast. Hence the lack of live updates. Here's a bunch of pics from day 1.

Thursday, October 10, 2013

Packing...

This is what you'll be seeing at the table if you come out to Feast of Blades this weekend!

Wednesday, October 9, 2013

Feast of Blades Live Updates

Hey all! Feast of Blades is fast approaching and I wanted to give you all a heads up and let you know that I will be posting pictures and updates directly from the con here and on my twitter feed. I'll be getting all my things together tomorrow and be heading out early friday morning for some great tabletop gaming and plenty of MFZ!

Tuesday, October 8, 2013

Tactics 101: On the Offensive

Tactics 101
Being in the position of the primary attacker can be quite difficult, especially for a newer player. If you're frames aren't geared towards a high speed frontal assault, you may find yourself struggling to catch up in scoring. In this post I'll be going over a plethora of tips and tactics for the primary attacker on the table. I've gone over some basics in a previous post, but here I'll be delving deeper. Company loadouts, placement strategy, and the like.

Building For Success

When putting together a company that is geared for playing as the primary attacker, you need to keep in mind that speed and firepower are two of your biggest assets. Let's take a look at some frame builds that fit well in this type of company.

The Grunt (2d6Rd, 2d6Rh, d6B, d6G) - good candidate for SSR
This is a frame that I would strongly suggest using instead of the standard "soldier" design for your primary attacker force. Looking back at the Maximizing Damage post from a little while back, you may be wondering why I left out spotting systems for the core of a high firepower company. The answer is simple, these guys are going to be in the thick of things as quickly as possible, there is a high likelihood that they will be able to position themselves where their target will not be in cover. Even if the target is still in cover, it likely will be more beneficial to attack the cover while moving in to set up the large number of other frames that you will have coming in for a more successful attack. If you can destroy the cover, drop a spot on the target using white dice. These frames should be deployed as close to the defending forces as possible and you should close as quickly as possible. Use your direct fire system only if you cant get in range to use the hand to hand, and once you're in the thick of things don't be afraid to lose the direct fire to give you an extra d8 for movement. It will keep you mobile and able to be exactly where your opponent doesn't want you to be. Another interesting variant on this design is to use a split direct fire/hand to hand system in addition to a hand to hand system, giving you 1d6Rd and 3d6Rh. If you couple this design with an SSR you can have enough firepower to keep your frames useful as you close and then give them a bit more punch once they close the gap.

These Fat Snake Grunts are great frontline assault frames.

The Berserker A.K.A. The Swarmer (2d6+d8Rh, 1d6Y, 1d6B, d8G) - good candidate for SSR
Much like the Grunt, the Berserker is designed to be a point assault frame. While the Grunts have dedicated systems for ranged attacks, the Berserker forgoes them to be the ultimate close quarters monster. Once one of these guys get up in the defender's face there is little they can do to stop the onslaught. Double hand to hand systems provide maximum damage potential while the lack of ranged weapons allows for a d8 movement without sacrificing a defensive or a spotting system. The reason why a spotting system is more important on a Berserker than on the grunt is that hand to hand systems ignore cover, thus it is more likely that it will get attacks off while the opponent maintains cover, the spotting system assures that the Berserker will still be able to spot for it's allies.

The Battering Ram (2d6Rh, 1d6Y, 2d6B, d8G)
Another great point frame, the Battering Ram leads the charge on the enemy while providing mobile cover for it's allies in combat. It may not always be viable to retreat a heavily damaged frame from the middle of your enemy's territory and the Battering Ram can help by positioning itself between the damaged frame and it's potential attackers. Until that situation presents itself, you still have a melee capable combat frame with the ability to aid it's allies with spotting. Tactical movement with this frame is key, but if positioned correctly on the table it can make a huge difference.

Other frame builds that are good for the primary attacker: The Commando and The Mobile Cannon (from Tactics 101: Maximizing Damage).

Advance Deployment

As the primary attacker your first frame has to be placed with very specific restrictions. It has to be outside the defender's defensive perimeter, at the limit of (but within) direct fire range of one of the defender's frames, and out of cover. Some players will place this frame as close to cover as possible and try to place defensively, this is a mistake. You want this frame as close to the enemy as possible and it should be something with movement, defense, and hand to hand systems (like the three builds listed above!). The defender will have placed his stations and two of his frames before you place the point frame, so you should have a good idea of what his setup will be like. Just be careful not to leave yourself open to a defensive ambush! Remember that the defender can place his remaining frames anywhere on the table as long as they are in cover to all enemies! If you leave a spot behind your lines for him to drop a few frames you may be fighting a battle on two fronts. Your remaining frames will all have to be placed outside direct fire range of all of the defender's frames and outside the defensive perimeter. Keep your other frontline frames near your point frame so they can support him in the initial assault, keep them in cover if you can but priority should go to being able to close on the defender quickly. 

Your stations are placed after all your frames. Make sure to put them in a spot that is not easily accessible by either the defender or other attacking players. Try not to leave them undefended, but your main focus should be on taking the defender's stations away, not defending your own.

The Whole Nine Yards

Once the game begins keep attacking and do not let up. Spot early and often, even if you can't take advantage of the spot you just put on the defender's frame, it's likely one of the secondary attackers (if there are three or more players) will. If one of your frames is destroyed or you lose one of your stations you lose very little as far as score is concerned (likely only 3 points), thus don't be afraid to send your frames into the thick of things. Don't blindly sacrifice your assets though, even a frame down to it's white dice can still grab an opponent's station giving you the lead. Your focus should not be so much improving your score, but decreasing everyone else's. If you take a station you only gain 3 points, which isn't going to catapult you into the lead, but just destroying a defender's frame will drop their total by a bunch (likely 7) which will close the score gap rather quickly. Take stations when possible, but just focus on making whoever's in the lead miserable. Use everything you have, as often as you can. If your tactics, and the dice gods end up in your favor, you should come out on top.


Saturday, October 5, 2013

Donated Companies

These are the four groups of frames I have donated to Creations for Charity. Keep an eye on their Bricklink Store as all four of these will be showing up for sale! Please consider supporting this awesome cause!


Friday, October 4, 2013

Tactics 101: Maximizing Damage

Tactics 101
When designing your frames, don't just slap on systems based on what looks cool, or what you think makes sense. While there is nothing wrong with doing that, we're talking about tactics to win, and looking cool does not equal winning (most of the time). I'm going to talk about what I call "System Synergy." It means getting the most out of each system on your frame's loadout to build an effective cog in your company. In this brief installment I'll be going over spotting systems a bit in regards to maximizing your damage potential. 

Spotting is what makes your attacks really effective. In general, one weapon system and a spotting system will be more efficient than two weapon systems. With spotting systems on your frames, you are much more likely to always be able to spot your targets for your other frames. Assuming you can spot consistently, a weapon system and a spot system gives you a max potential of a 12 for your attack, while two weapon systems only gives you 8. If you manage to use that spot with a frame using two weapon systems that max goes up to 14! Even against the highest possible defense of 6, thats 8 damage dice. So obviously, spotting can really pump up your firepower and you should be utilizing it as much as you can in every game. Let's take a look at some good builds that focus on using spotting systems.

"The Commando": 2d6Rh, 2d6Y, 1d6B, d8G
Unless i have a very specific tactic with a company, I really like to include one of these in each company I field. The two spotting systems make sure that whatever the highest priority target on the table is, it;s gonna get a big fat spot on it. Use this frame for station grabbing (aided by that d8 for movement), taking out squishy targets in compromising positions with the melee system, and for setting up your heavy hitters for success with a big fat spot to maximize potential damage dice. Depending on your company, you may want to add an SSR to this guy as well. That tiny bit of extra oomph and flexibility can really help keep this guy contributing every turn. The defensive system is the only system I would consider dropping for this build if you're trying to underbid someone, but even then, I would consider dropping systems elsewhere in the company before doing that.

"The Support Soldier": 2d6Rd, 2d6Y, 1d6G
Much akin to the Commando, this guy will help maximize your damage output all over the table with his two spotting systems. The difference with him though, is since he is using ranged weapons he wont have quite the durability or mobility of the Commando. So why does he have a movement system instead of defense? Simple, cover is better and minimizing damage than defensive systems are. That movement system will allow you to move around more freely and keep this guy in an advantageous position in cover more often. This is a guy you want when you like to play very tactically. Rushing him in to the fray will likely get him destroyed quickly. This is another solid candidate for SSRs, as it can up your attack dice potential in key situations. Generally, the first system you want to lose from damage is one of your spots. At that point you wont be able to tag anything on the board, but you'll still be able to consistently tag whoever you're engaging in combat with this guy. If you lose the movement you may get stuck out in the open with no cover, and if you lose the direct fire system you've got no way of shooting back.

"The Mobile Cannon": 2d6+d8Ra, 1d6B, 1d6G
But wait a minute! He doesn't have spotting systems! Hold your peaches there buddy, I know. This is the guy you want taking advantage of the spots your other guys are laying down. Two artillery systems give him the maximum potential for attack rolls with a possible 8 and being able to target pretty much anything on the table. This is the guy you want to hang back in a nice cover filled position shooting at targets that have big spots on them, and/or low defense. In the right situation, you could one-shot a frame with this guy from across the table. Why the defense and movement systems over a double spot like the other guys? They keep him alive and, ironically, less of a target. If he had double artillery and double spot, he's pretty much saying "HEY GUYS, I'M OVER HERE, SHOOT ME." When everyone is taking shots at a frame, and the frame has no way to really help defend against them, he will go down quick. I mean epic quick. If you dont put the spotting systems on him, he's just that guy that can peg me from over there. The bigger threat is all of a sudden the guy right in from of him that keeps tagging him with those pesky yellow dice. The movement helps him stay in cover or make a last minute station grab, while the defense keeps his defense score high.

One thing to always remember about spots, even if you don't have spotting systems it doesn't mean you cant spot. White dice can be used to spot frames, but they need to be out of cover to do so. Since spotting is the last thing you do on a turn, use it to your advantage against targets in cover that you pretty much have no chance of landing a hit on. Shoot at the cover and tear it apart, then after the frame is no longer in cover, spot it with those whites setting up the attack for your other frames (like the Mobile Cannon).

So next time you think about adding more weapons to your frames, think about adding spotting systems instead. It may just make the difference.

Game Night!

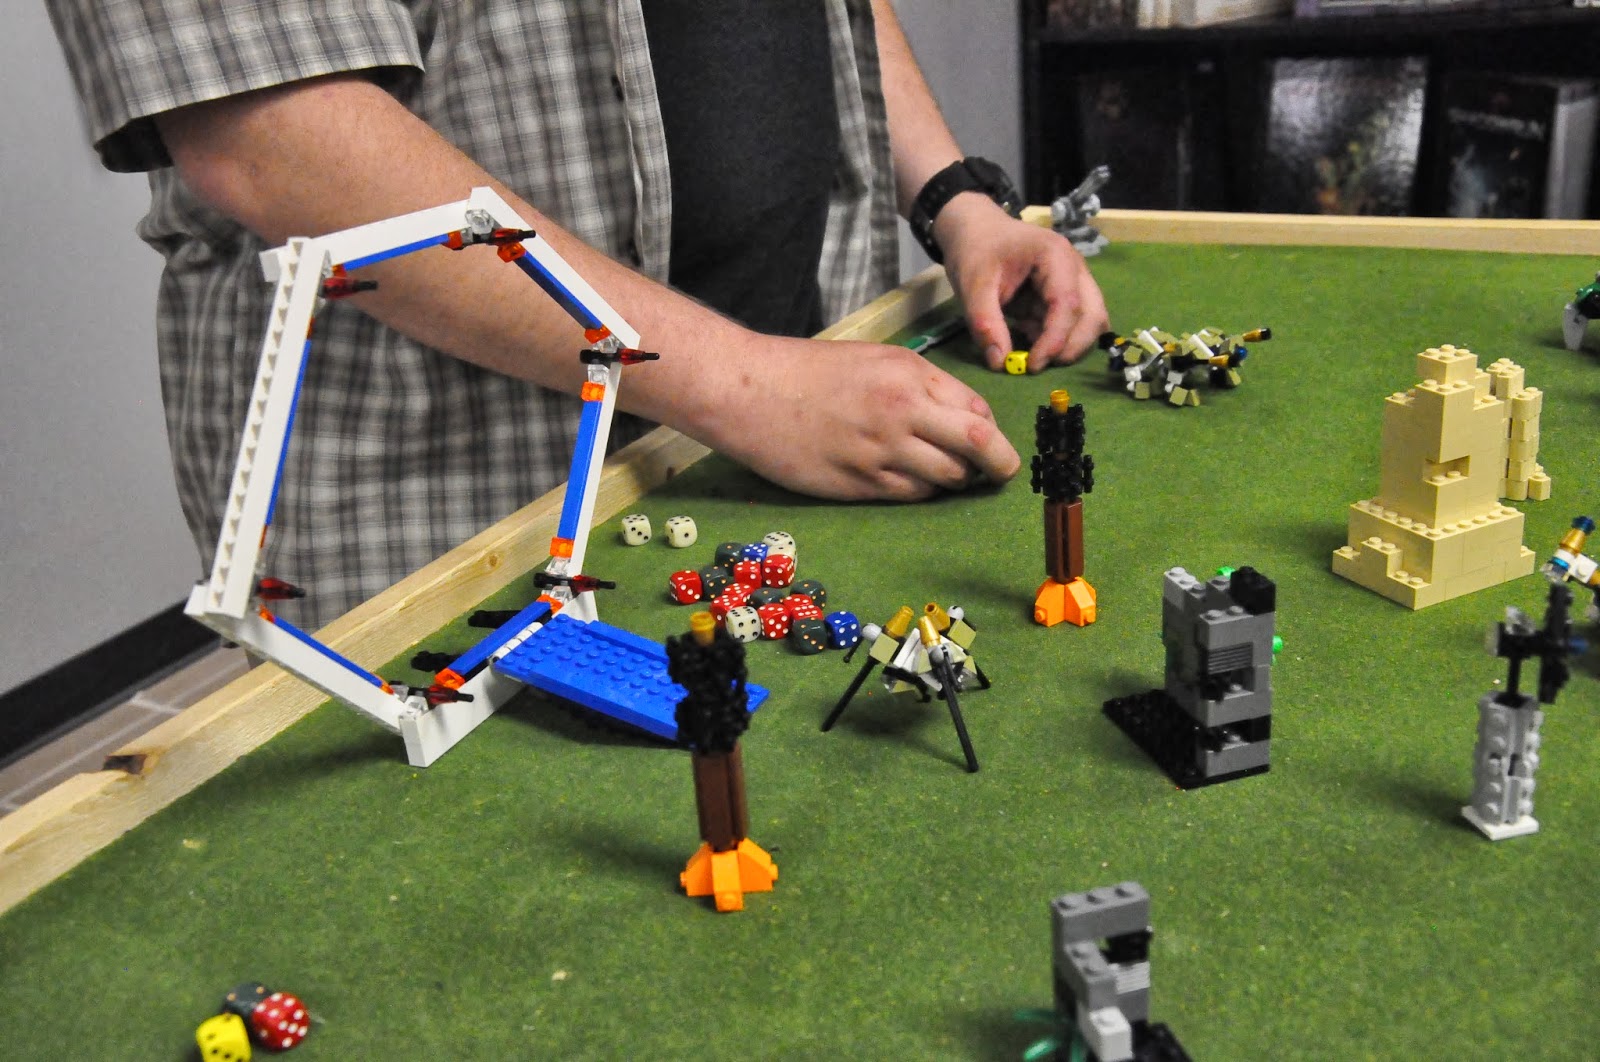
Here are some photos from a recent night of MFZ at one of my local game shops, the Adventurer's Quarter. I pulled in a group of guys playing Infinity once I set up and pretty much immediately had them hooked. After our first game I let them play with a few newcomers all by themselves! It's was pretty sweet to see a table fo people that had next to no exposure to the game throw down and run through the whole thing without any help! There were a couple of people that knew I was going to be there and brought their own frames which was always fun as well. I'm hoping that this can become a regular thing over at the AQ and that soon, everyone will be bringing their own frames! Big thanks the Rick and the AQ for letting me run this over there! If you're ever in the Denver area check them out! 


Tuesday, October 1, 2013

MFZ for Charity

Creations for Charity is, for the fifth time, accepting donations of Lego creations to raise money so that underprivileged kids can enjoy the wonderful joy that is Lego. These creations will be available for purchase on their Bricklink Store up until November 15th. Items do not go on sale until Oct 15th, but the donations are being accepted starting today.

I plan on throwing together a few small squads of frames as well as possibly some stations to donate. This is a great opportunity to get your hands on some pre-built frames while supporting a great cause. I also encourage any of you who are able to donate as well. Make sure you check them out!