Wednesday, September 25, 2013

Tuesday, September 24, 2013

Builder Spotlight: 9-24-13

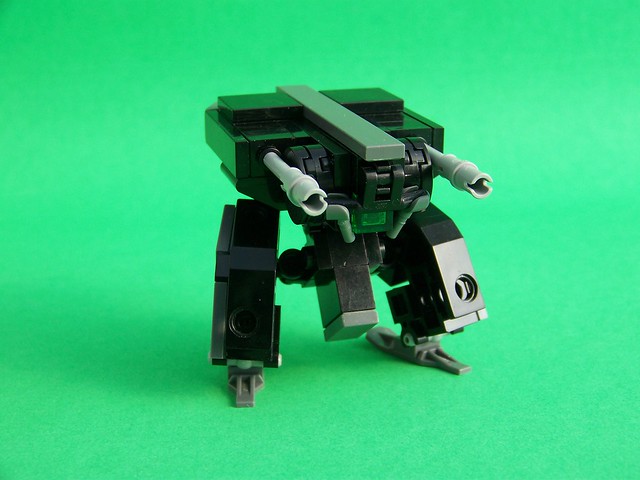
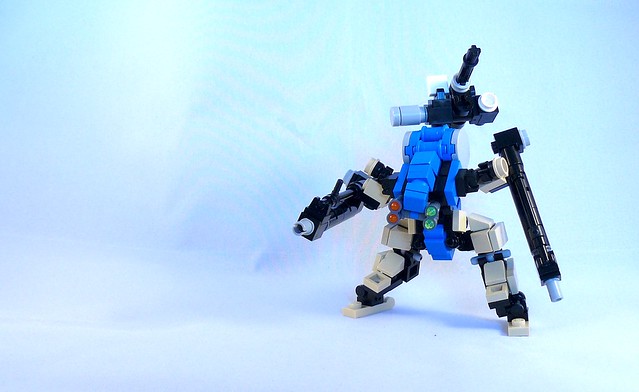
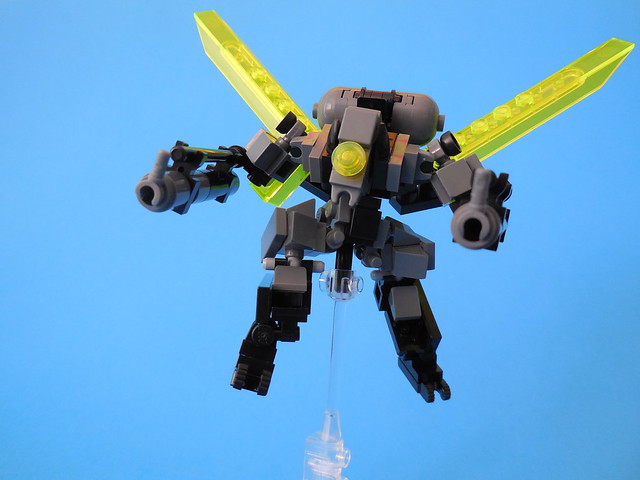
It's been awhile since I've done one of these! Just a quick recap of some of the interesting and/or really cool builds popping up around the community. Starting things off is the "Hunky" by DRevD. He's fairly new on the scene but has already put together a couple cool designs and not to mention has some super slick photography.

Hunky

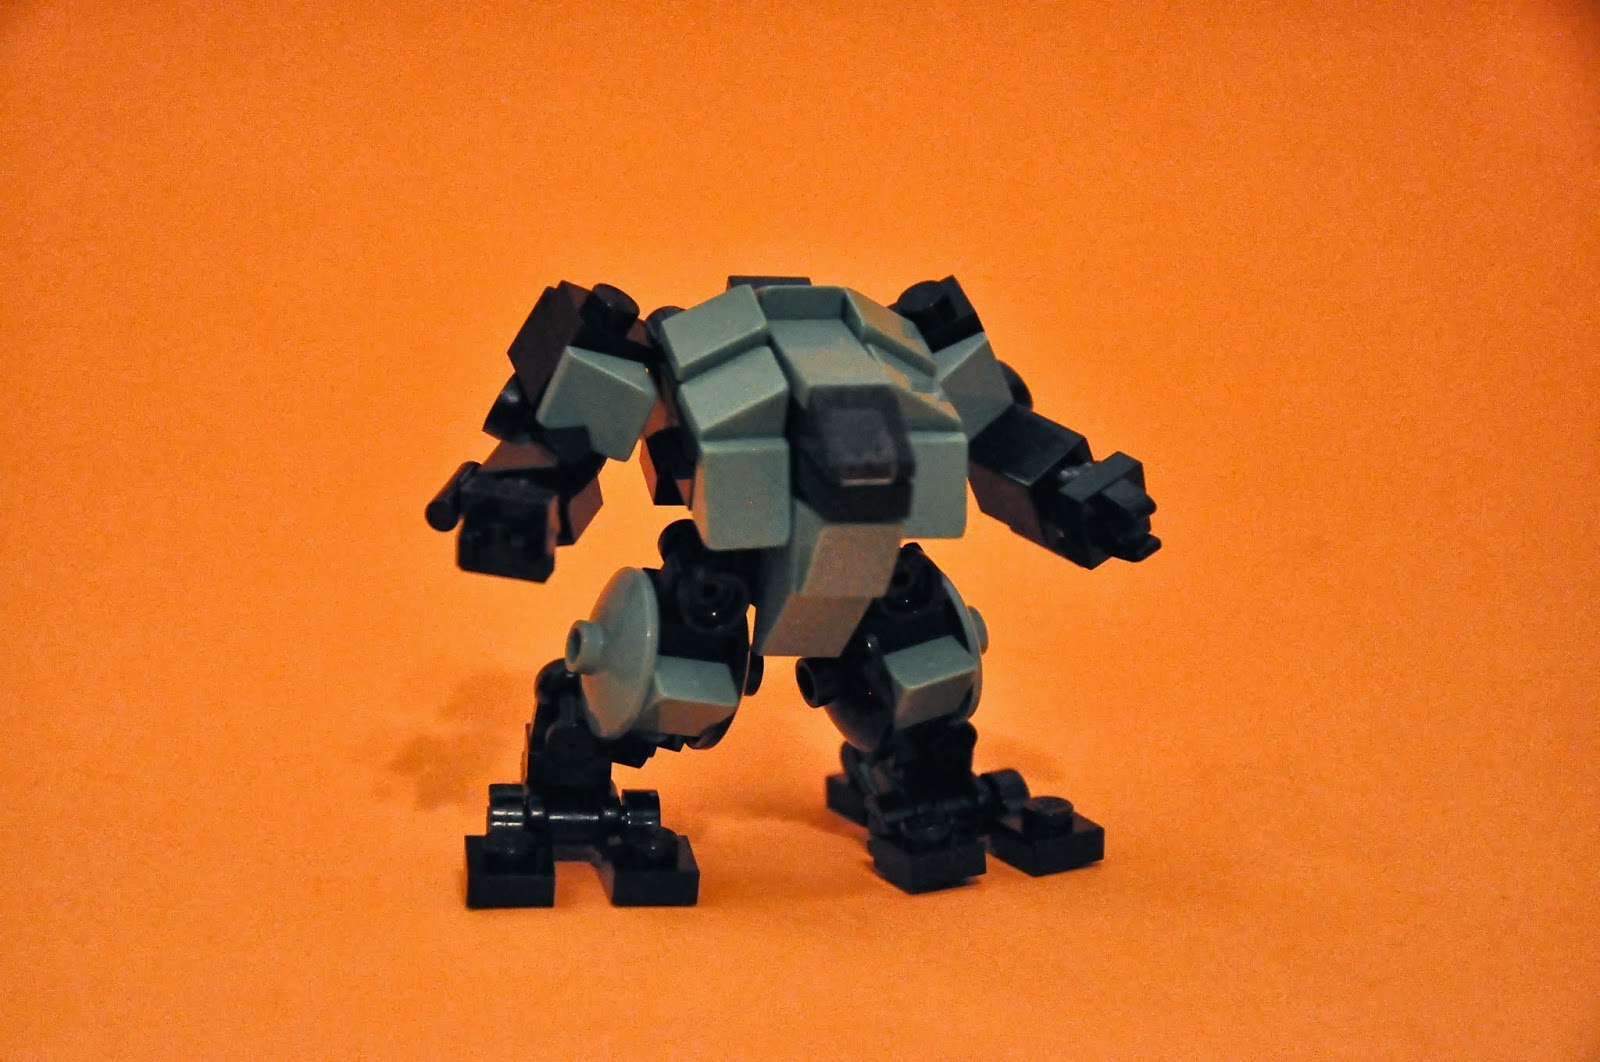
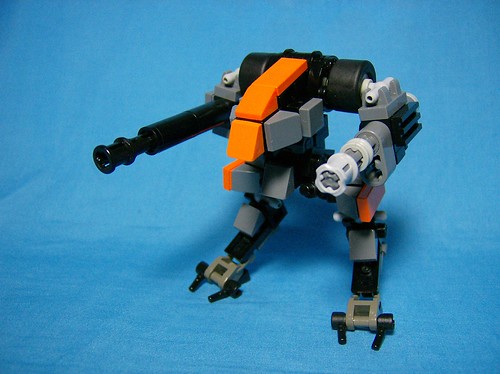
Second, we go to veteran builder AYates with his AP-99 Wolf. I love the squat, bulkiness of this frame, and the wonderful use of Hovercraft Bumpers for legs. 

AP-99 'WOLF'

Third, is a lovely little guy from Groovybones. Now, this was not built for MFZ, but is the perfect scale and is quite a lovely little build. I'm particularly fond of the color choice. Azure is not a very commonly used color and it is pulled off wonderfully here. 

Groovy's Back, Baby

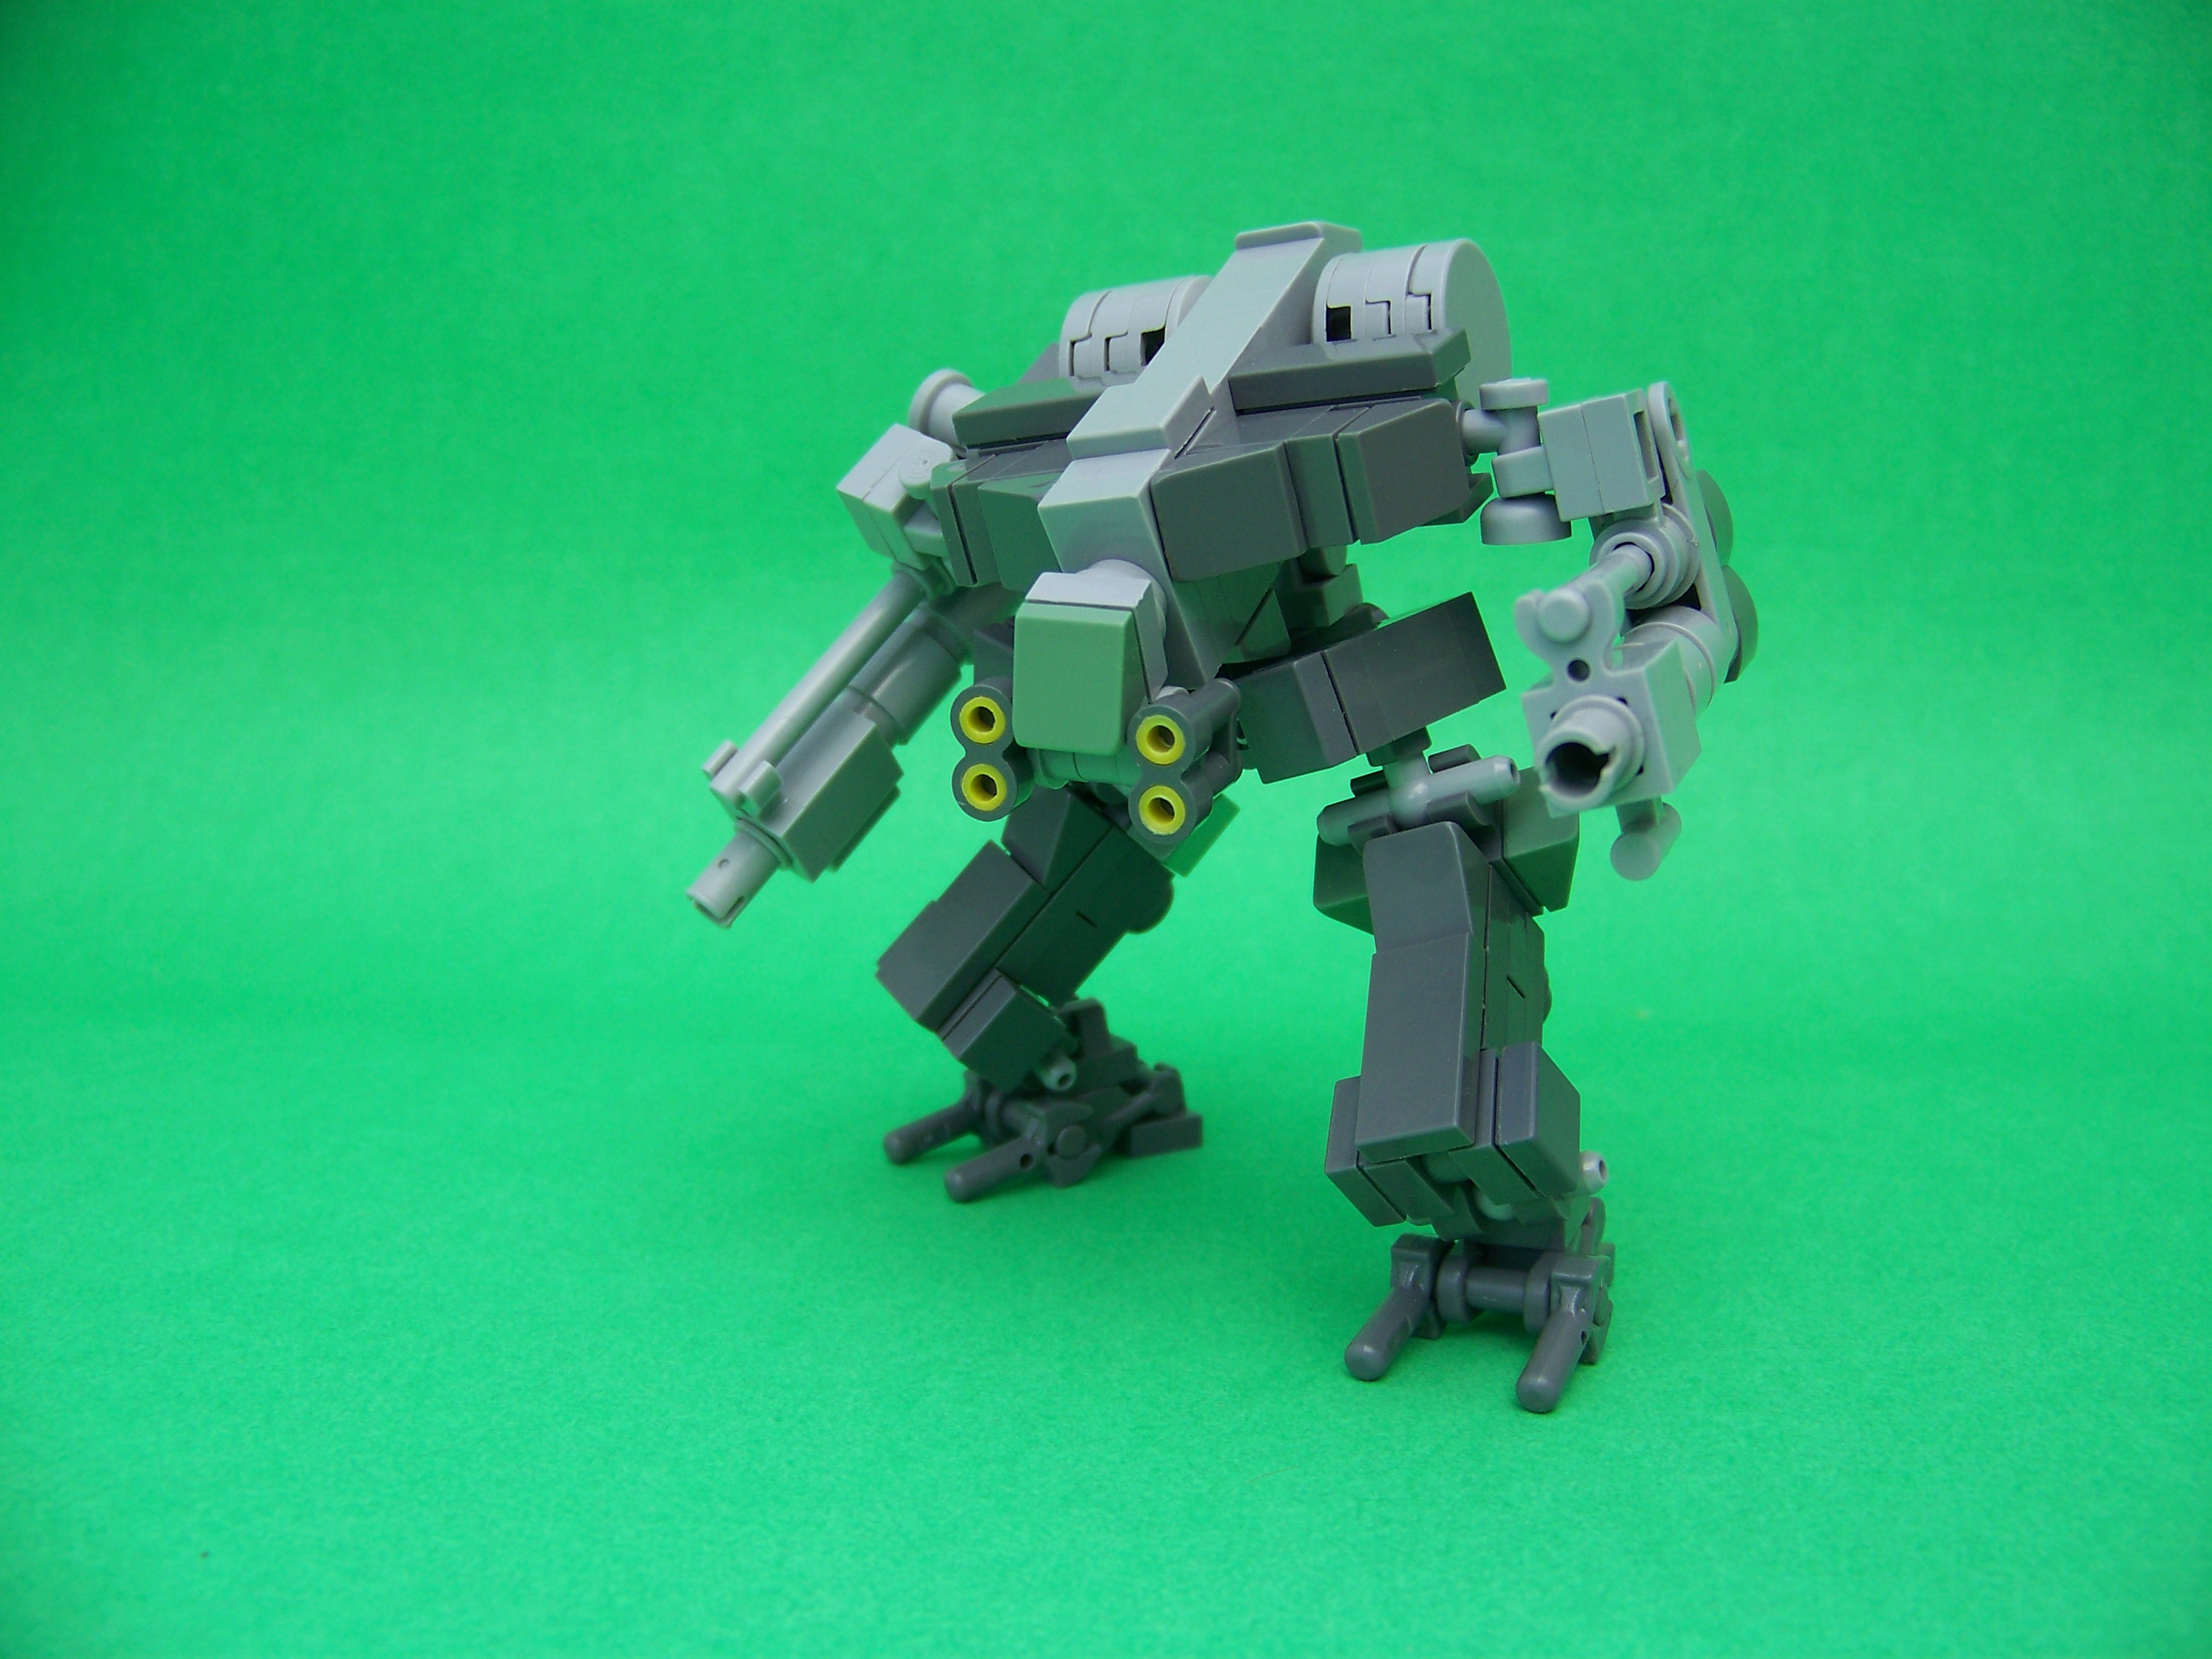
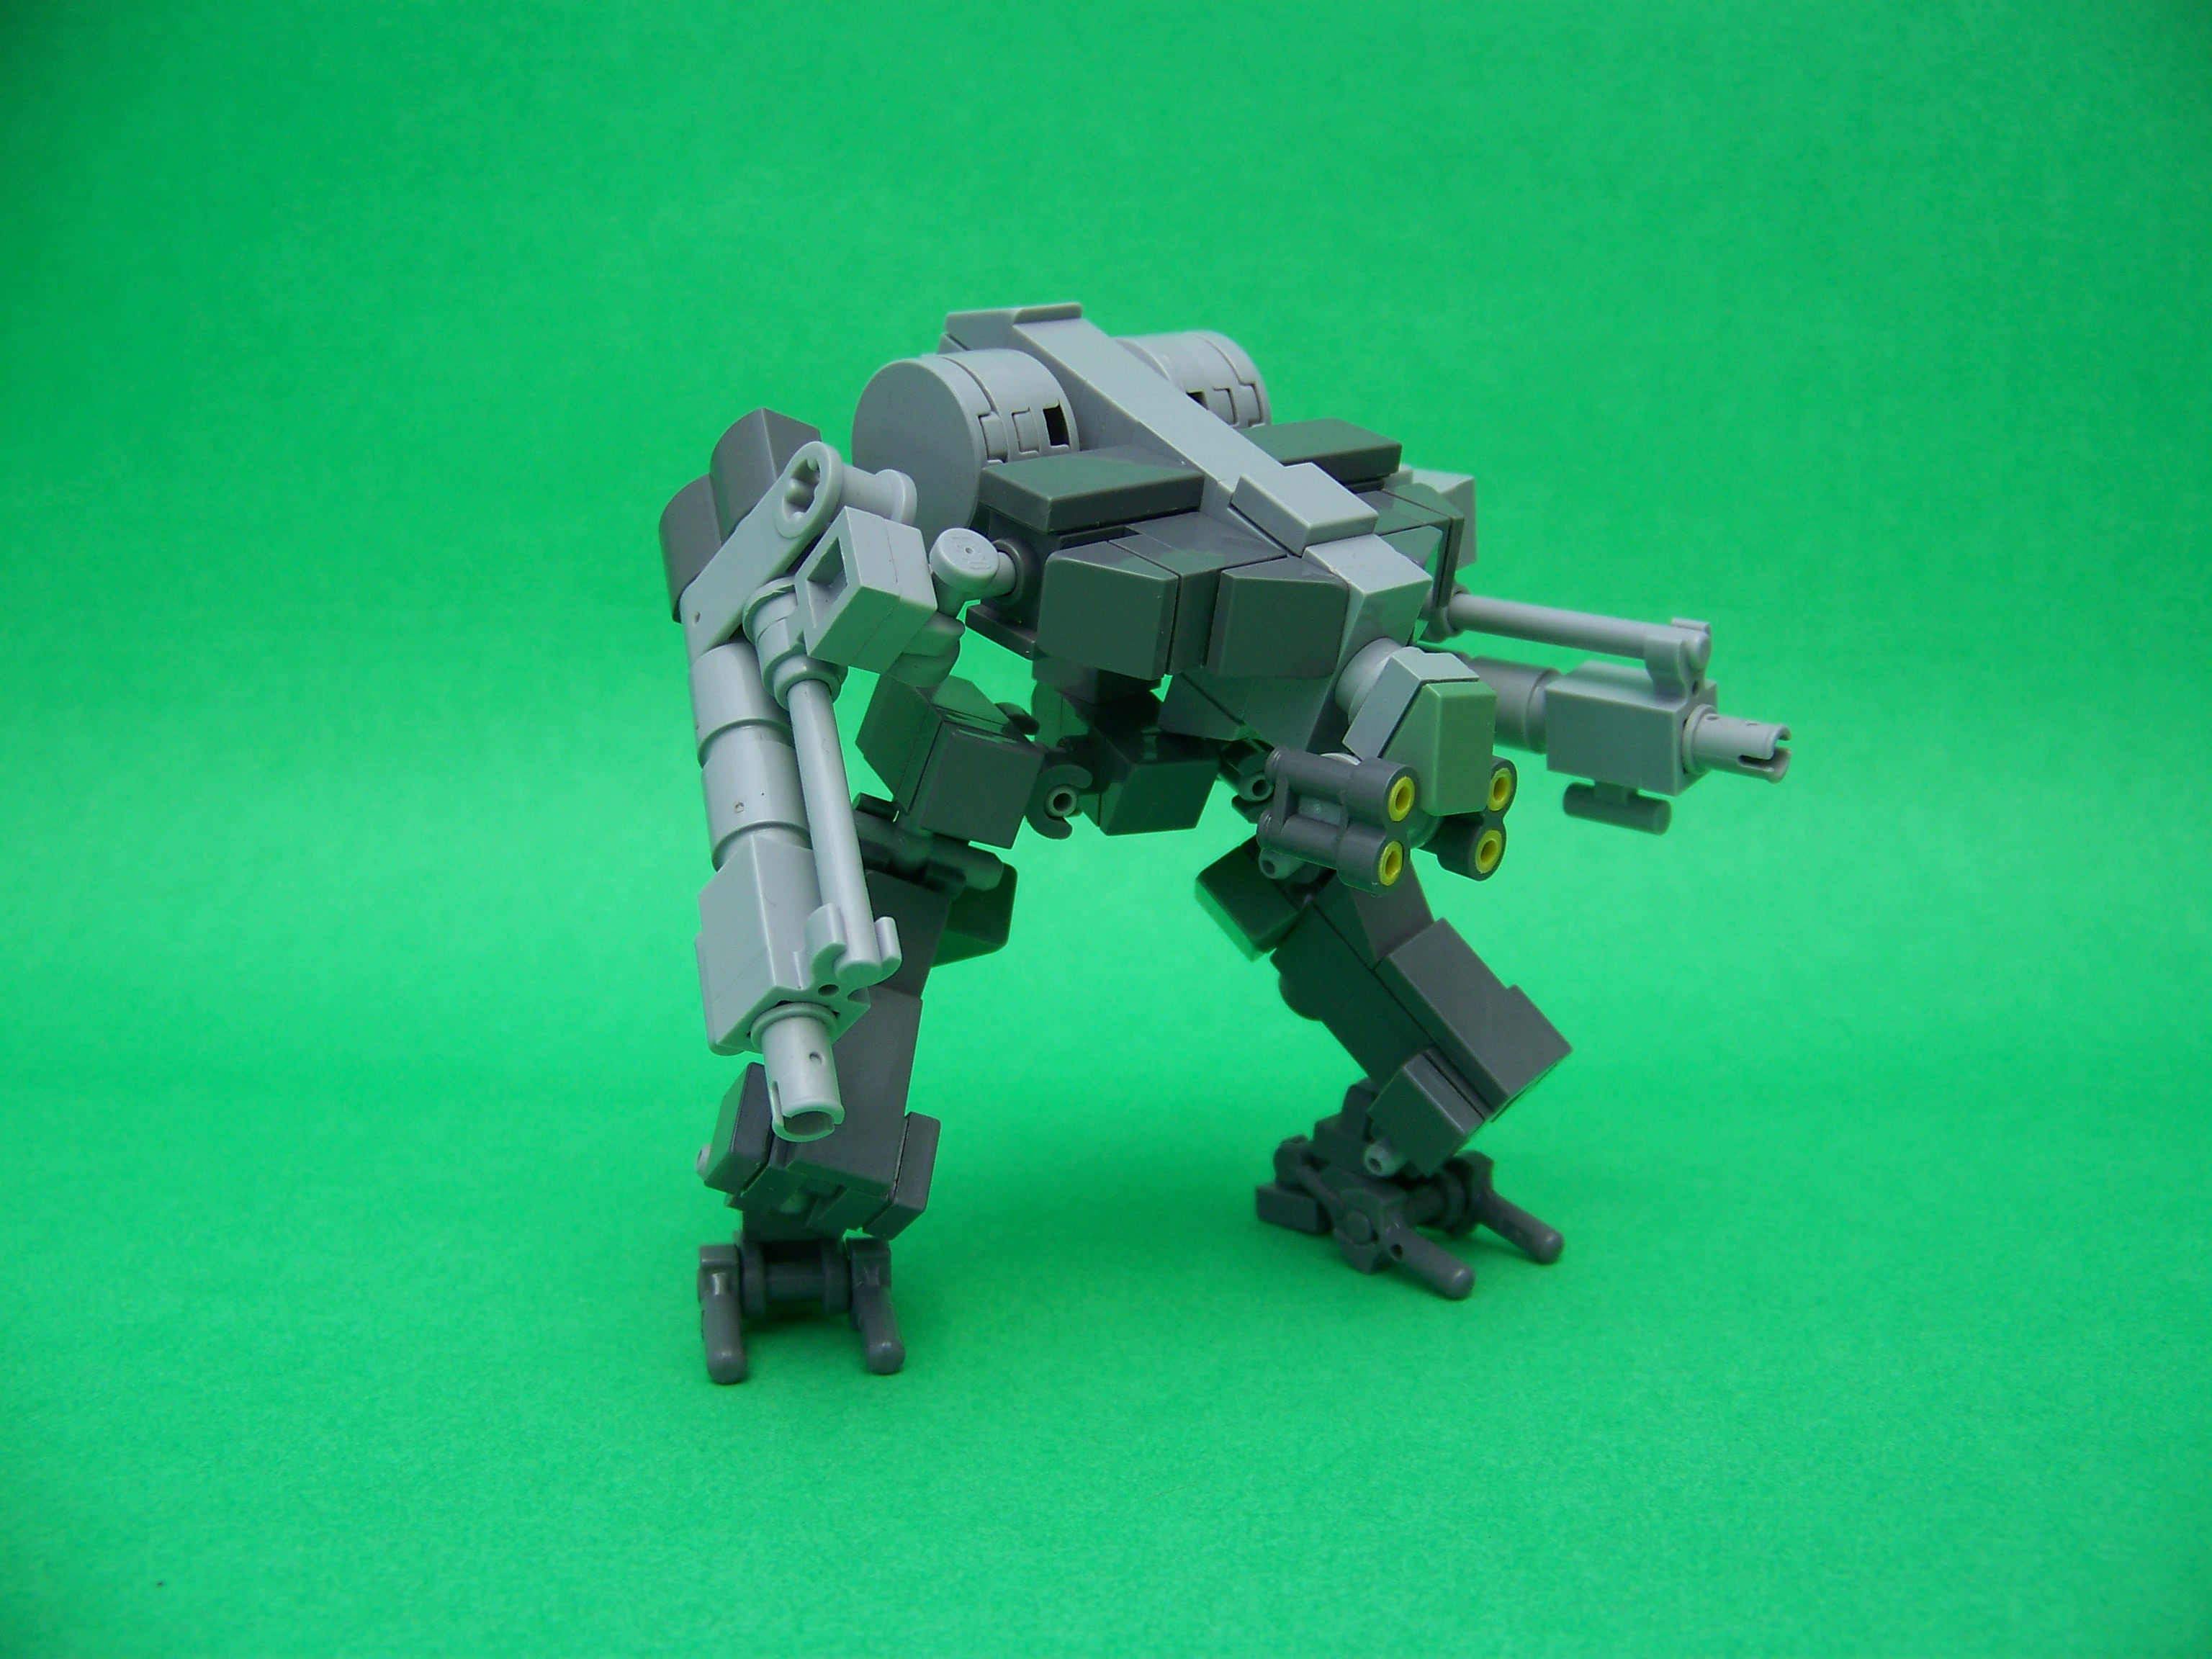
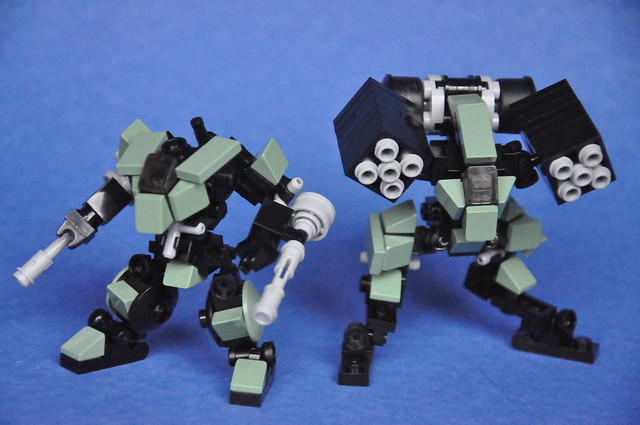
Fourth and finally is regular builder LowestFormofWit with a wonderful scrambler variant using a great tan/black color scheme that I may have to steal at some point. This is probably my favorite ijad styled frame I've seen, which shouldn't be surprising due to the level of detail he puts into his frames. 

I-ST-82 "Arcbringer" - Scrambler Artillery Variant

Monday, September 23, 2013

Design Journal: 5th HOU:SE - Part 2

Alright, time for the next part of the 5th HOU:SE design journal! Let's take a look at where we left off...


Things are looking decent, we've got a pretty good rough mold of the shape of this guy, but there's room for improvement. The space underneath the cockpit is rather empty, it creates a negative space that leave the cockpit "floating" in front of the frame without any real support. Let's try and fix that...


So what I've done here is replace the cheese wedge on the front of the pelvis with a 1x2 slope and a cheese wedge (and as the keen observer has probably already noticed, slightly changed the shaping of the top of the frame as well). These changes fill out the torso much better and give the frame a beefier look. Now let's take a look at those feet. As a few people pointed out, they sit pretty far forward and the toes look pretty spindly for such a beefy frame. Luckily, there is a quick fix for both of these issues.


By rotating the "ankle" taps to face the other direction, I've set the center point of the feet back about a stud, and by replacing the mechanical claws with some modified plates, I've given this guy a much more stable (and stompy) look. This is where I noticed another problem however...


These guys are supposed to be larger and beefier than the Hoplites. While I have achieved the beefier aspect, I seem to have failed on the larger portion as they are in fact pretty much the same height. Again, there is luckily a pretty easy fix to solve this dilemma as well.


Instead of putting the ends of the taps directly into the travis brick pelvis (first picture) we can attach them via a couple clip tiles, giving the frame about another stud of height. That little bit might not seem like much but...


As you can see the frame seems much larger, even though it is in fact only slightly taller than it was before. For the most part, things are looking pretty good here. But I'm still not happy with the body shaping of the torso. The size is good, but it's, well, boring. So let's change the orientation of some of those cheese wedges around and see what happens.


There we go. This orientation gives the torso a much more defined shape. It shifts the girth of the frame more towards the center mass and centers the cockpit a bit more, making it stand out without "floating" like it was earlier. Also, the lower torso and pelvis section now flows into the rest of the frame much smoother, making it harder to distinguish the two from each other, which creates a more believable look. That's all for now. Until next time...

Feast of Blades Preview

Just wanted to share a few of the frames and stations I'll be bringing out to Feast of Blades in October. I'll be sharing more as I get everything put together!

Wednesday, September 18, 2013

Design Journal: 5th HOU:SE - Part 1

David came to me and comissioned his first company, 7th HOU:ND, right as I was getting back into the grove of building. He had asked for a company that was sleek, fast, and agile and wanted to pull influence from the first company I ever had commissioned. Through some exchanges of ideas, revisions, and a little bricklinking, the 7th HOU:ND was formed.
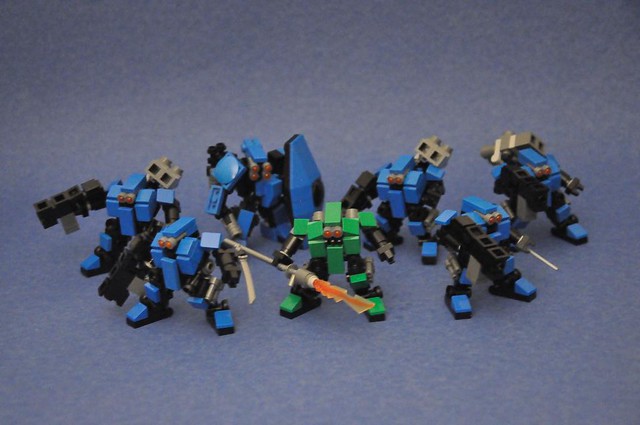
The 5th HOU:SE Company should have a similar vibe to these guys.
Afterwards, we began fleshing out ideas for a second company, the 5th HOU:SE. While the HOU:ND units were not well funded, equipped with pretty basic gear, and fighting on pure will to survive, the HOU:SE units are on the other end of the spectrum. David described them as "Similar to the HOU:ND units but with a more tech-heavy flair. The southern units have deeper pockets and tend to try and fight in a more stand-offish manner. They prefer their ranged and arty strikes versus the down and dirty wetwork of the up close and personal variety. That's not to say they can't, in a pinch, just that they feel it sullies them. If possible, the designs should be similar to the HOU:ND frames. They should look to be a bit more intimidating, though. They prefer distance and a psychological edge whenever they can get it."

So first thing's first, these guys are going to heavy on the weapons systems and comms, they are high-tech after all. I decided on a company composition of 2 Artillery units (2d6+d8Ra, 1d6B, 1d6G), 2 Heavy Gunners (2d6+d8Rd, 1d6B, 1d6G), 2 Overwatch units (2d6Rd, 2d6Y, 1d6G), and the Commander's custom frame (which hasn't been completely fleshed out yet). As far as fluff goes, we're going to be using really flashy, high-tech weapons and equipment (rail-guns, ECM jamming systems, high rate of fire autocannons, etc), the more exotic the weapons look the better.

For the Heavies and the Overwatch frames, the goal is to create something that has a similar vibe to the Hoplites from the HOU:ND company but give off a sleeker, larger, high tech look. I want these guys to be more the size of Iguanas, which were the original inspiration for the HOU:ND units. So first things first, since I want a similar look to the Hoplites, I started out with the same inner "core" of a droid torso flanked by bricks attached via a lampholder. I extended and elongated the center torso out to give it a sleeker, smoother aesthetic while still maintaining the slanted, three wide look of the Hoplites.
That should be good enough for now. Keep in mind, this is an initial "sketch" build to more or less get the basic ideas for the final design together. Things don't have to be perfect here, just good enough to get the vibe and idea across. So, on to the arms. Now with the orientation of the headlight bricks on top of the lampholders, there is actually enough room with this build to attach something to the back. This seems like a great spot to attach arms as the Iguana's arms are also attached to the back of the frame. This way we can achieve the same flow from torso to shoulder to arm as the Iguana on this core. I used lampholders again with a 1x1 round plate buffer to allow it to rotate freely to attach the arms to the torso.
The arms at this point aren't finalized by any means either. They are very standard and could very well change drastically by the time the build finishes, but again, this gets the point across nicely. So then all that's left for the sketch build is the legs. I went with standard Iguana style legs, although I used feet almost identical to the feet on A-Yate's Locust spin off, the Sloth. This is an area that I would keep in mind if costs for the company get a little to high for David's taste. Each foot uses a droid torso, which can be fairly pricey pieces as far as Lego goes. If I were to use a different foot design I could bring the total droid torso count per frame from three, to one, which would effectively knock a few bucks off the price of each of these guys. Personally, I really like these feet though.
And there you have it! The initial build! I hope you've found this post useful, and I look forward to doing more of these as the company progresses!

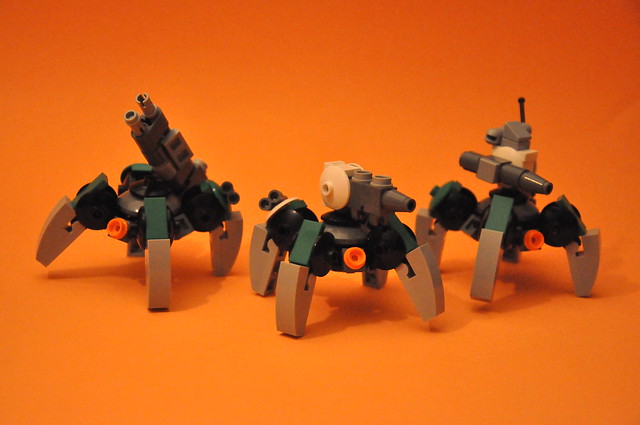
Breeding Locusts Cont.

After posting about all the variations to my Locust frame the other day, A-Yates has thrown together a phenomenal version of his own. Taking cues from Malcom's Build and adding his usual sense of style to the Locust, Yates threw together one hell of a frame. I'm really impressed with the variant builds so far of this guy. I can't wait to see what the rest of the community comes up with!

Sunday, September 15, 2013

Breeding Locusts

There have been a few takes on my recent Locust build popping up, and they look pretty sweet.

YA-38 Loggerhead

Malcom Craig has his YA-38 Loggerhead. I'm really digging what he's done with the center mass of this guy. The head and torso flow really nicely with the rest of the frame. It has a very slithery sea creature vibe to it too. Really nice work.

Flying Locust

1000Nuglets to the insect vibe one step further by adding some awesome wings and little pincers in the mouth of the frame.

Finally, XGundam05 built the XWA-41 Govei "Thief." Again, I really like what he's done with the torso shaping on this. I could easily see this guy next to a few iguanas. Actually, that's not a bad idea...

Iguana and Komodo Dragon

Saturday, September 14, 2013

Chubbin' Around

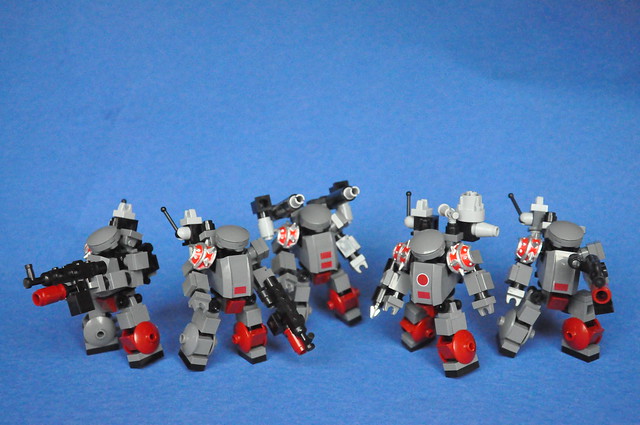
38th "Tin Men"

Just thought I would post my recent demo company that I will be using at a few cons this fall. Come on out and get a hands on look at these guys!

Building Terrain: Rock Spires

A station surrounded by rock spires.

I've had a few requests for some terrain building posts so we will kick of the rebirth of the blog with some detailed instructions on building one of my staple pieces of terrain, Rock Spires. One of the great things about these pieces of terrain is the fact that they only use one piece that is very common and comes in a variety of earthy colors. In fact, many pick a brick walls in Lego stores carry the piece so it's easy to get them in large quantities on the cheap. Also, if you want to make your spires a little greener like mine, a lot of Lego stores also have the bamboo leaf and flower stem pieces as well.


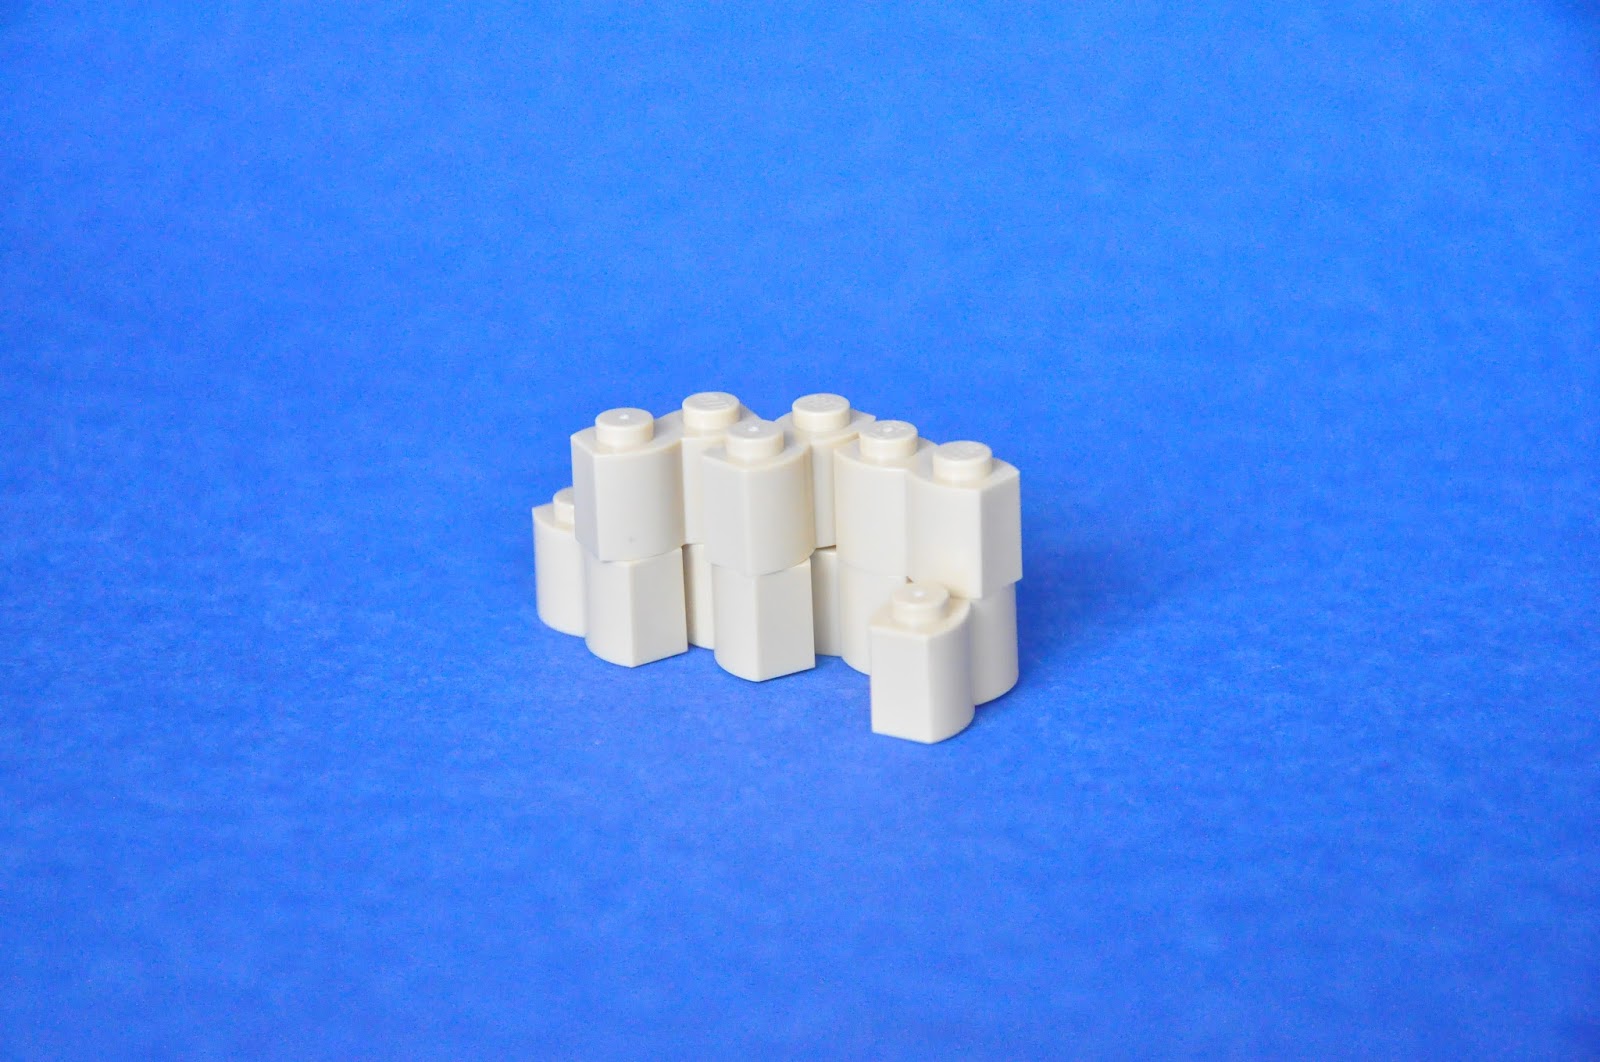
The piece in question the Brick, Modified 1x2 Log, an extremely useful piece due to the fact that they can "bend" while holding a solid connection unlike normal bricks (as shown in the picture on the right). So, step 1 in building a rock spire:


Start by piecing together a 2 high staggered set or bricks until you create the base of the spire. Make sure to work the bricks around in a way to create some nooks and cranny's in the sides of the spire, otherwise it will look very plain. 


Start bricking up the third and fourth layer. Try to overlap your bricks so that you're strengthening the connections of the bricks below and varying the pattern enough to make things look more like a natural rock formation. Once I've got a few layers I like to pick one or two spots and build a little spire climbing up out of the formation as well.


 Now, if you'll notice, the bottom couple layers of the spire are rather boring. They are very uniform and uninteresting compared to the rest of the spire. To help liven things up, we're going to take more log bricks and sprawl them out from the bottom, creating another layer below the initial two. Try to make each brick stick out, or create crevices, don't worry too much about improving the structural integrity at this point as it should be pretty solid already and the bottom layer will never be removed from play as it only counts as cover when it's 3 bricks high.


Now that you've finished that up, things should be looking pretty good. Now all that's left is to add some foliage to make it pop a little more.


And there you have it! The other great thing about this technique is that you can create whatever kind of rock formations you like. These examples would be great for a sandstone, or desert setting (like Orion 6!) or if you wanted a mossy forest vibe you could use dark brown and green bricks with more plants. Also, if you want walls it's really easy to shape a few of these together to create more interesting formations. What kind of cool formations can you come up with?

Tuesday, September 10, 2013

Blog Revival

Hey all! Just a quick post here to let you know that I will be picking up the blog torch again here soon! I've got some big things planned for the planet Orion 6 as well as a number of other "columns" including some design journals! Keep an eye out! Over and out!